Threat modeling with STRIDE using a threat modeling tool is a great way to get started with threat modeling right away, without the complexities of 1) developing a customized threat modeling methodology, and 2) having to learn manual threat modeling.
So how can you get started? That’s easy:
- Sign up to use our threat modeling tool for free, and get started in minutes!
In the rest of the article I’ll explain all the (easy) steps required to create a full STRIDE threat model – including a data flow diagram, and a review of STRIDE threats – using a threat modeling tool.
Or, if you’d like to take a different approach: use automated threat modeling to perform STRIDE threat modeling more quickly and effectively.
Want to learn more about STRIDE threat modeling:
- STRIDE Threat Modeling Example for Better Understanding and Learning
- The Ultimate List of STRIDE Threat Examples
- STRIDE Threat Modeling
Step 1: Go to the threat modeling tool and sign up.
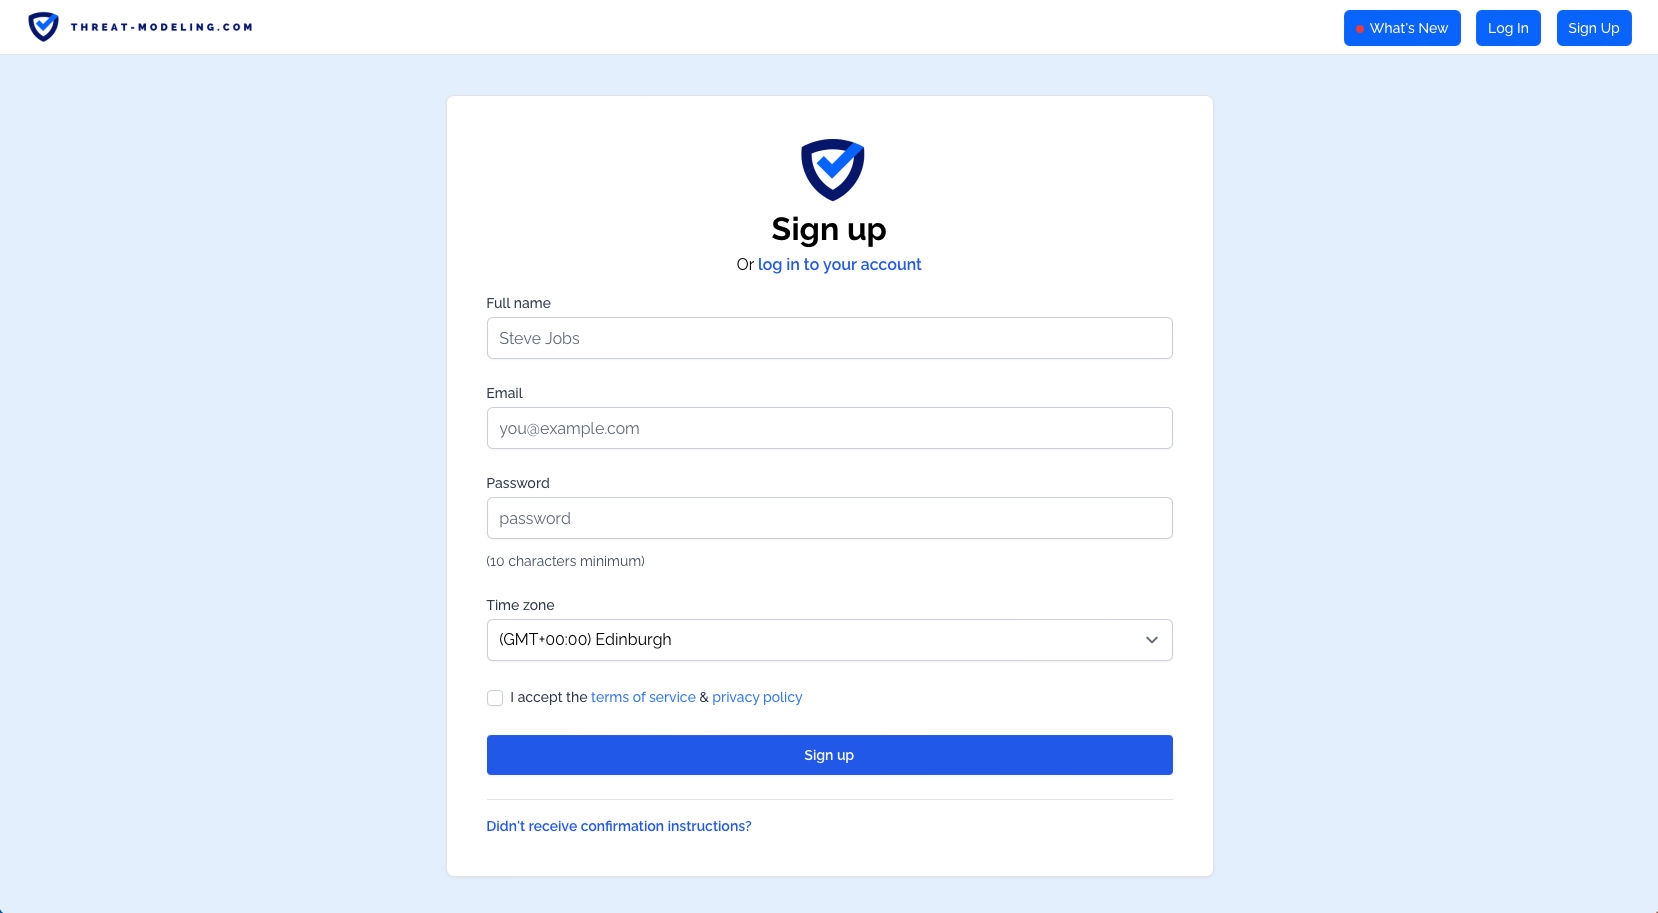
Go to the threat modeling tool sign up page, and sign up. This requires that you enter your Email on the sign up page, and that you confirm your sign up from the confirmation Email.
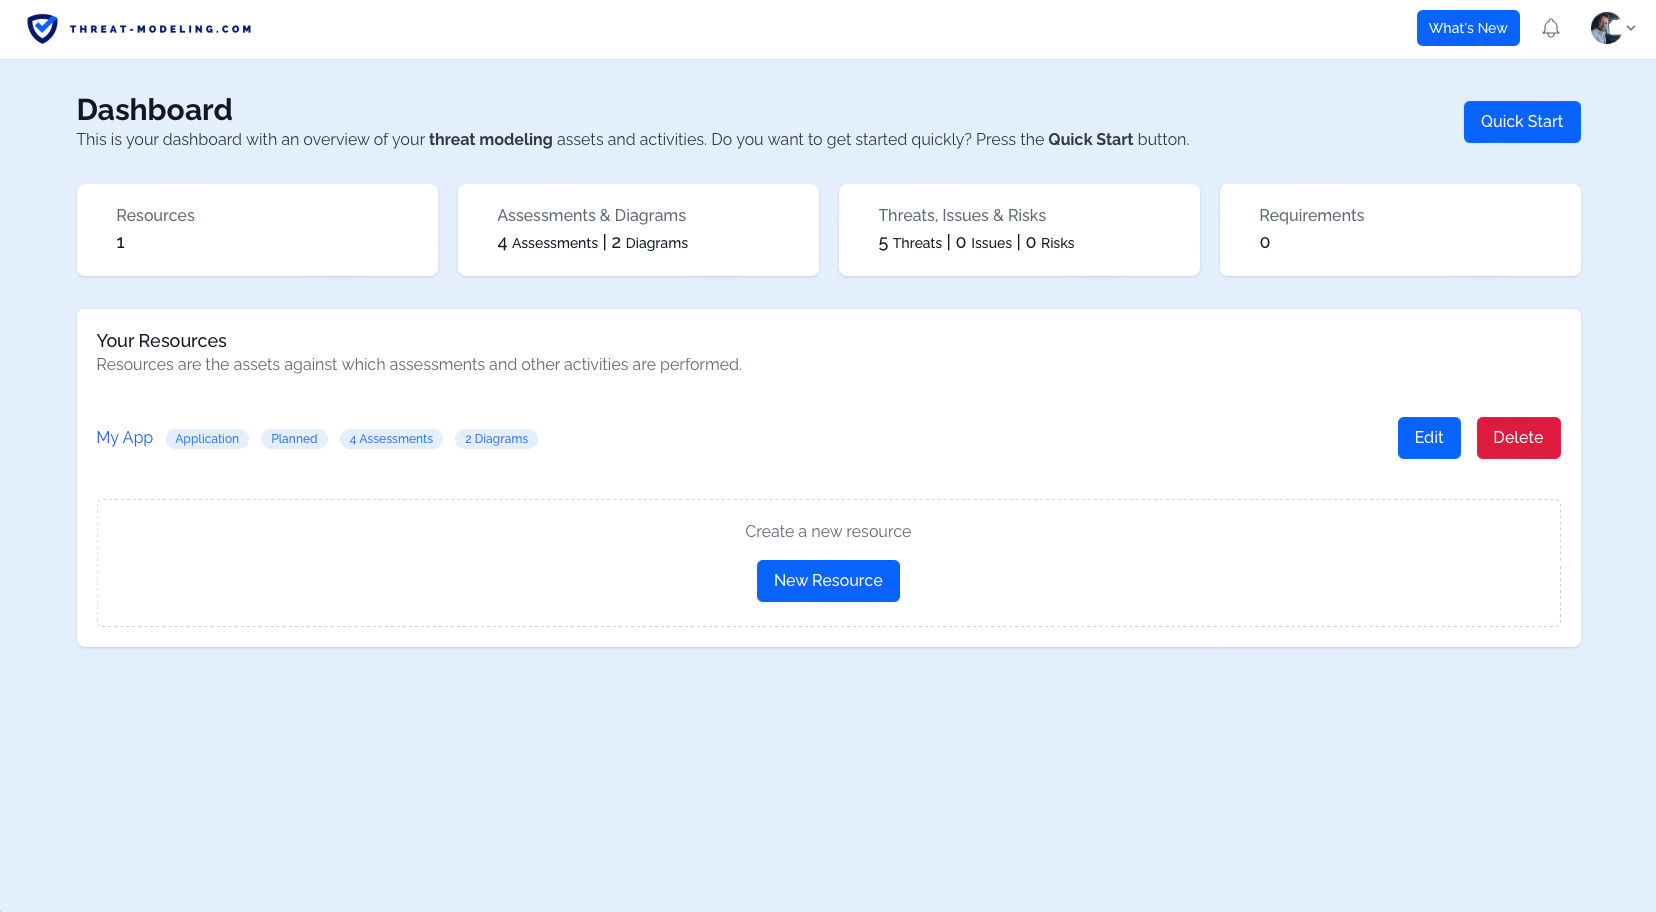
Once you click on the confirm Email, you’ll log in and from there you can start STRIDE threat modeling. As a logged in user, you’ll see the threat modeling dashboard. The dashboard is your high level overview. In the dashboard below, we can see our Resources, the number of Assessments, the number of Diagrams, the number of Threats, etc.
Step 2: Create a Resource
Next up, let’s create a Resource. The Resources are assets against which threat modeling occurs. So typically this is an application, or a product, or an IT system, or a business process. You can define the Resource Type, and the Current Status using drop down menus.
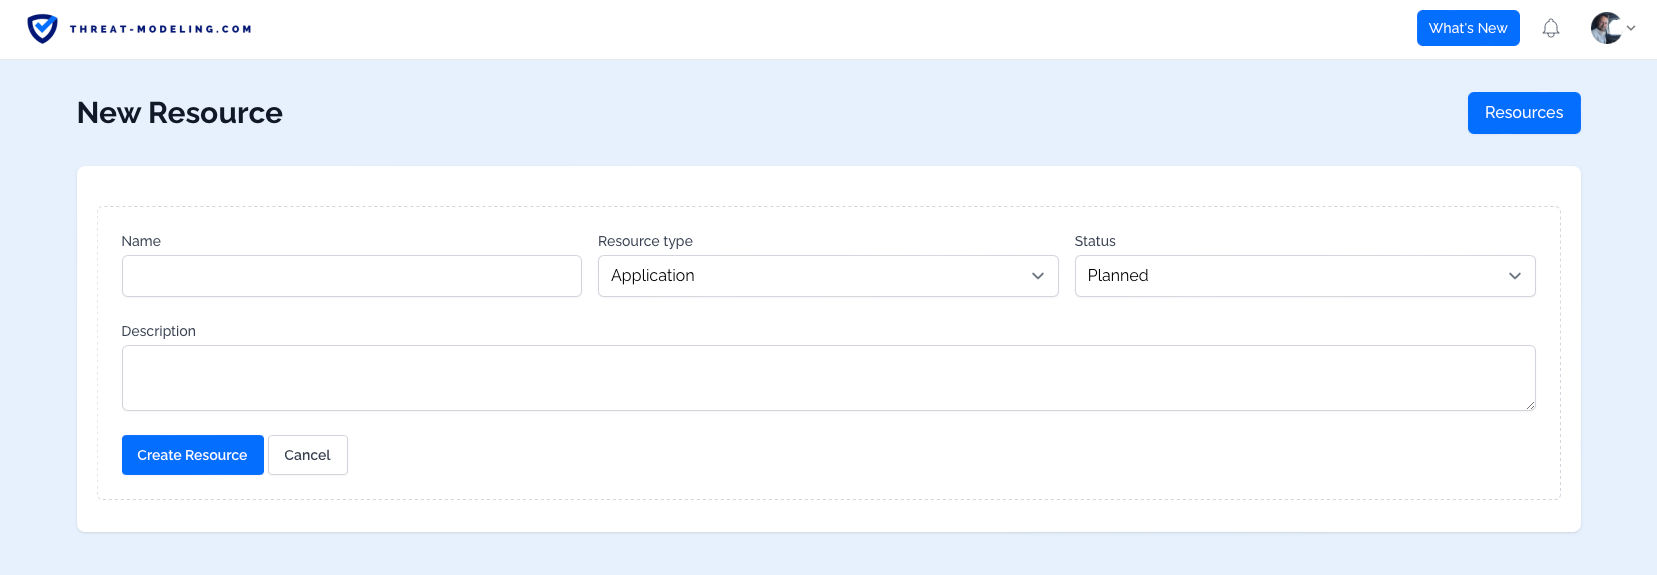
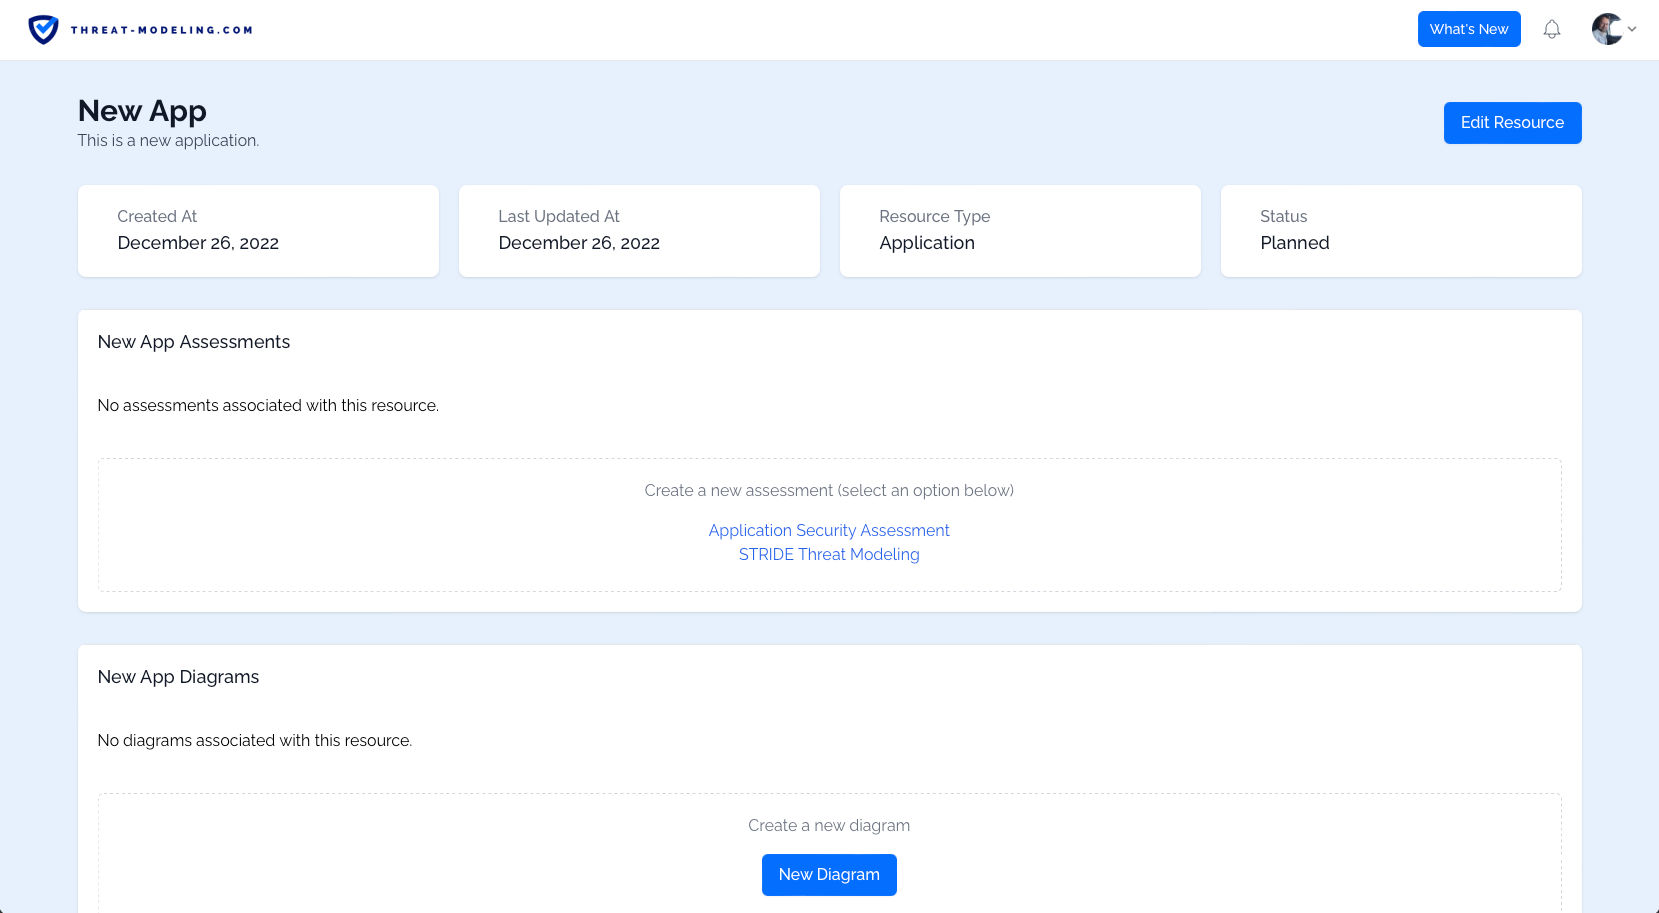
Once we have a Resource, we can view the Resource details. The two main aspects here are:
- The Assessments related to the Resource
- The Diagrams related to the Resource
We’ll look at Assessments and Diagrams in the next step.
Step 3: Create and Answer the STRIDE Assessment
The threat modeling tool supports many types of assessments, and they’re fully customizable. In this case, we want to use the STRIDE threat modeling assessment:
- From the Resource page, click on the button to Create a new assessment, and select STRIDE threat modeling.
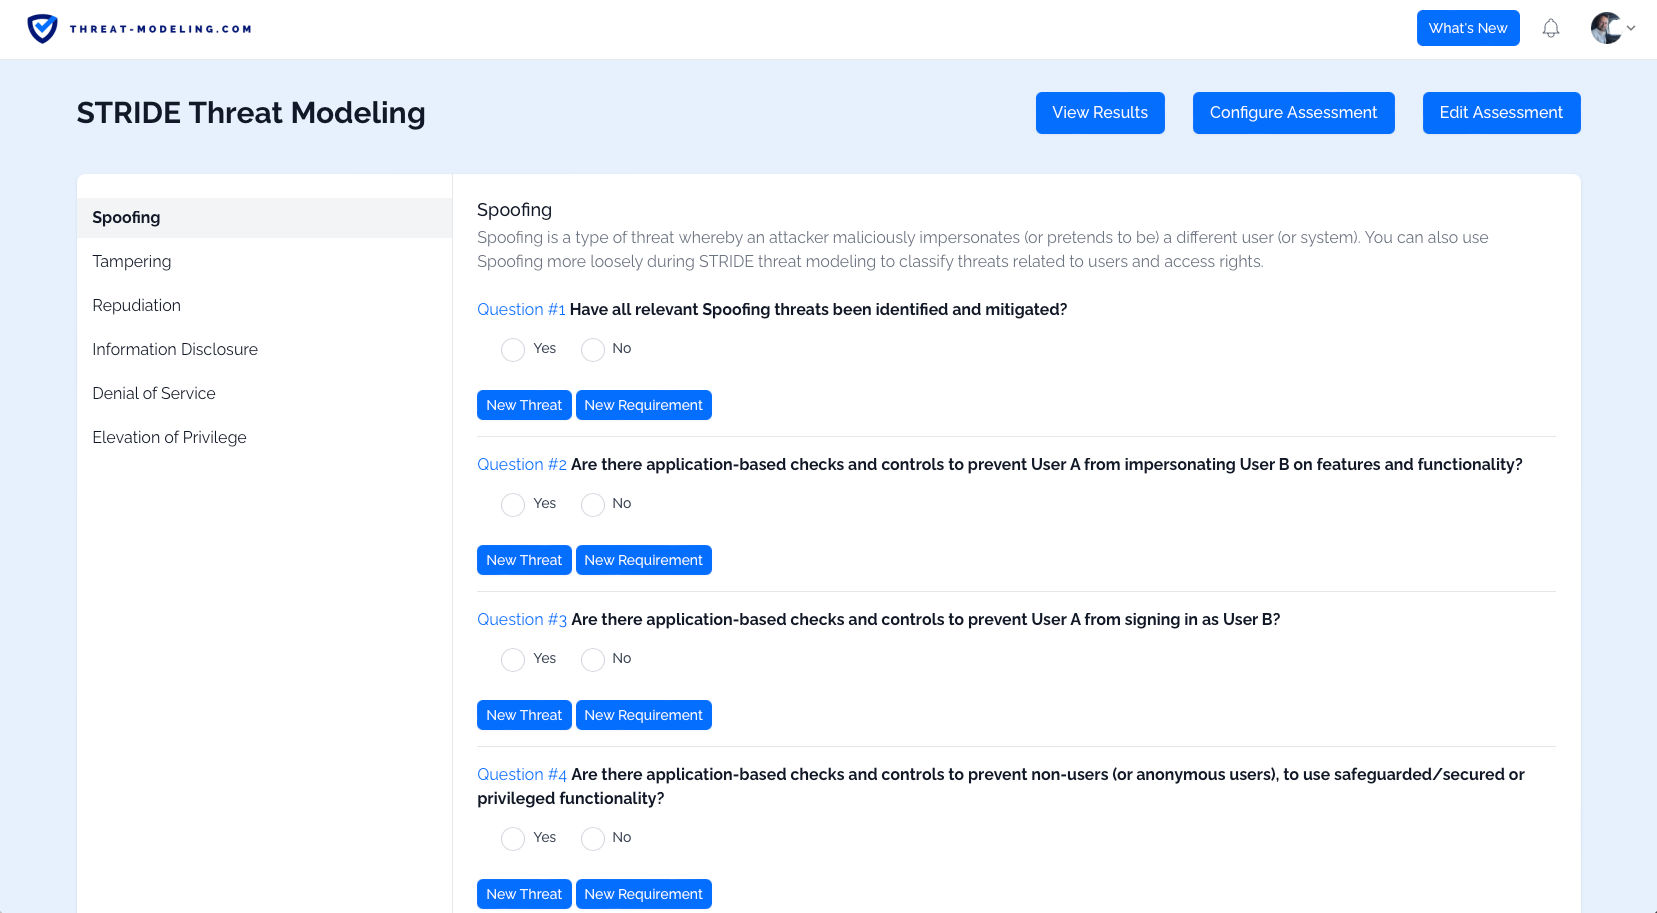
- Click on the Answer Assessment button, in order to answer the STRIDE related questions.
Now you’ll see STRIDE related questions which you can answer.
You can answer questions in the following way:
- Answer questions directly (i.e., using yes/no answers).
- Think creatively about potential threats related to the question, and add threats using the New Threat option.
- Think creatively about security requirements related to the question (and related to any threats that you were able to define), and add those security requirements using the New Requirement option.
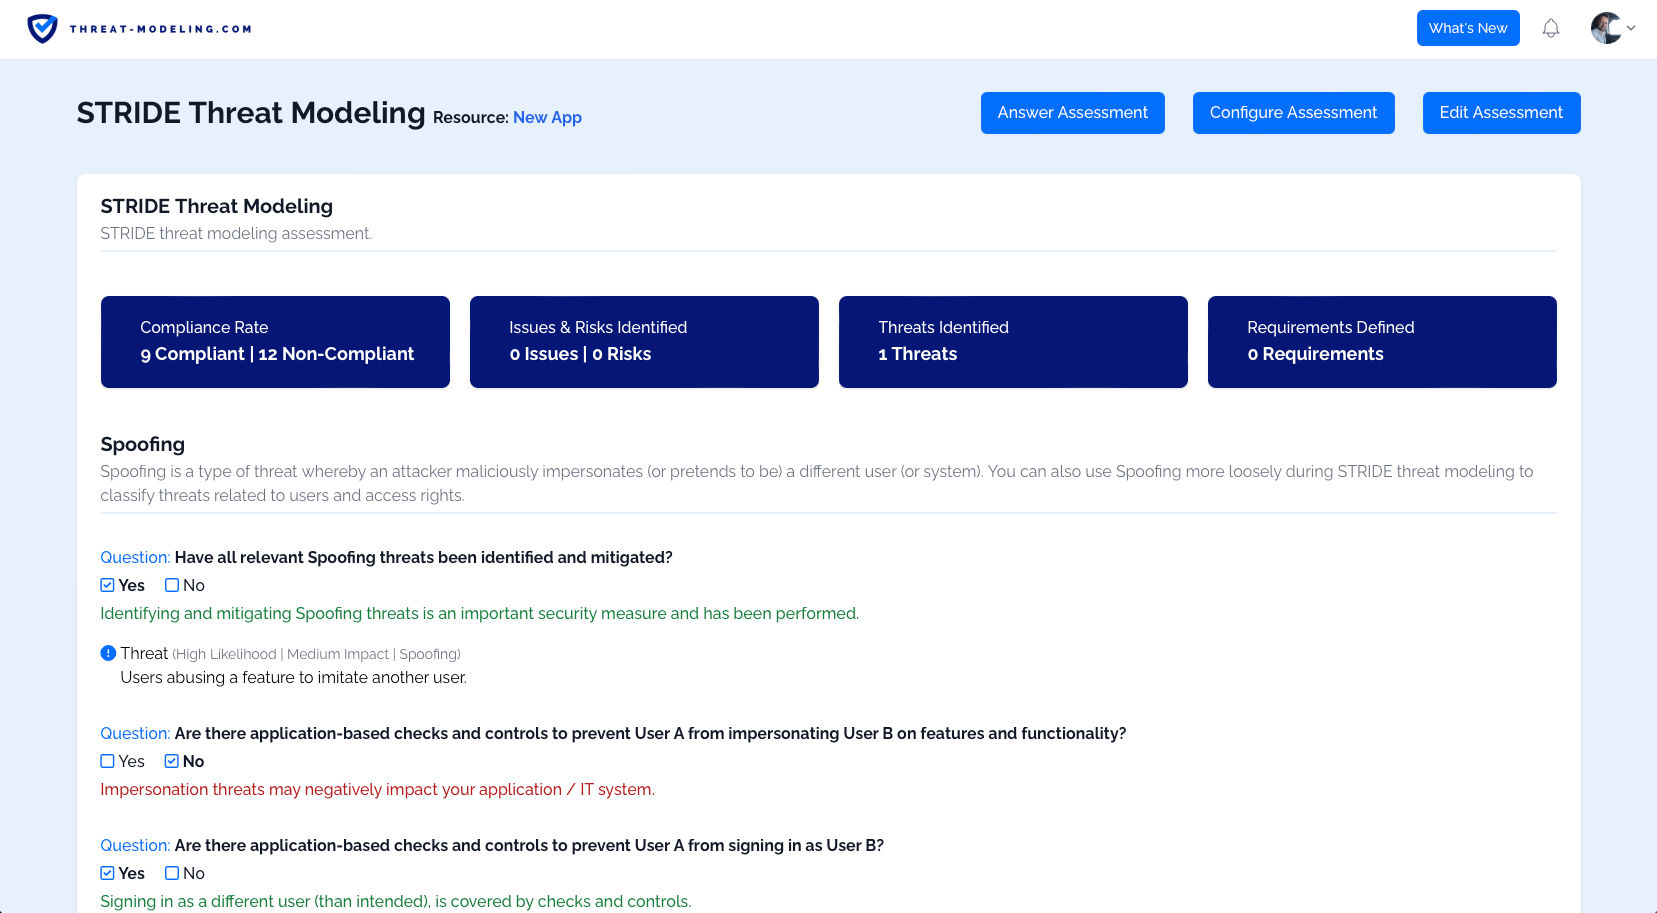
Once you’ve answered all the questions, added potential threats, and added security requirements, you can view the results of the STRIDE assessment.
You can see: 1) positive results 2) negative results, 3) threats which may impact your resource, and 4) security requirements to protect your resource.
Step 4: Create a Data Flow Diagram
As part of STRIDE threat modeling, we also want to create Data Flow Diagrams, to improve our understanding of whatever we are threat modeling.
From the Resource page, we can create a new diagram.
Once we have a new diagram, we start with a blank page. From there we add Data Flow Diagram features, consisting of:
- A trust boundary: Indicating a boundary area, where we know how much trust we have (i.e., no trust / internet, or a lot of must / internal network).
- An external entity: A person or thing that is outside of our control (i.e., a user).
- A process: A thing that processes data, or does something. Typically these show the core thing that we are threat modeling.
- A data store: Somewhere to store data, this is typically a database.
- A data flow: This is a connector, indicating that two components communicate with each other.
You can see the result of a fictitious application below. This is roughly what your Data Flow Diagram should look like. Note that this is a very basic example, and your Data Flow Diagram may be more complicated.
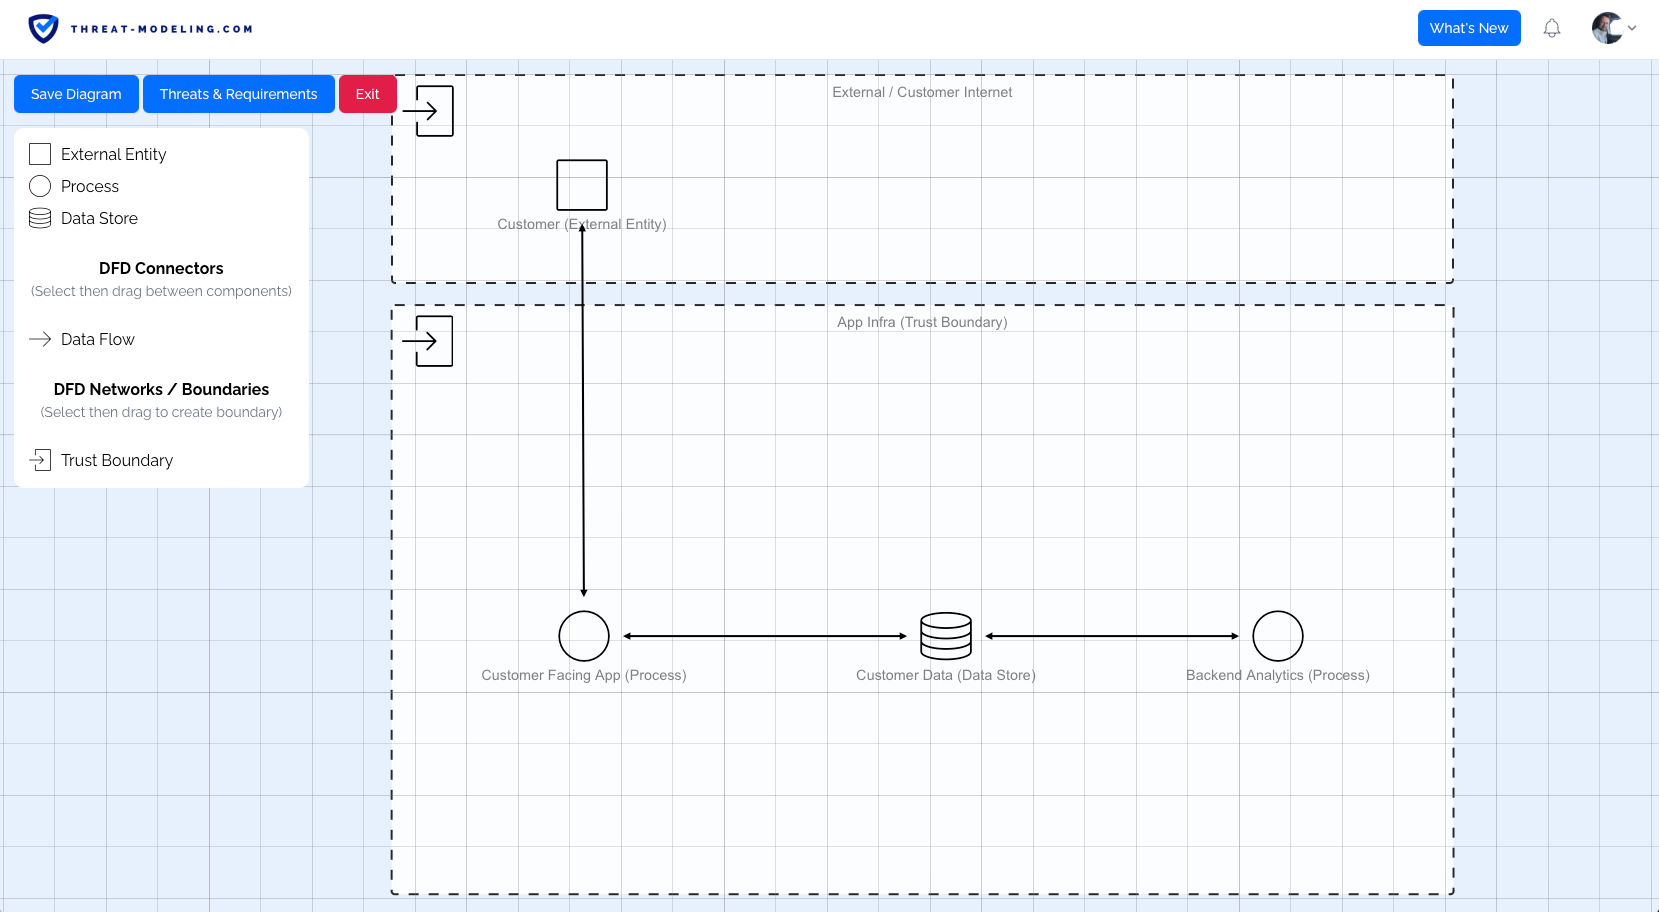
Within a Data Flow Diagram, we can also create:
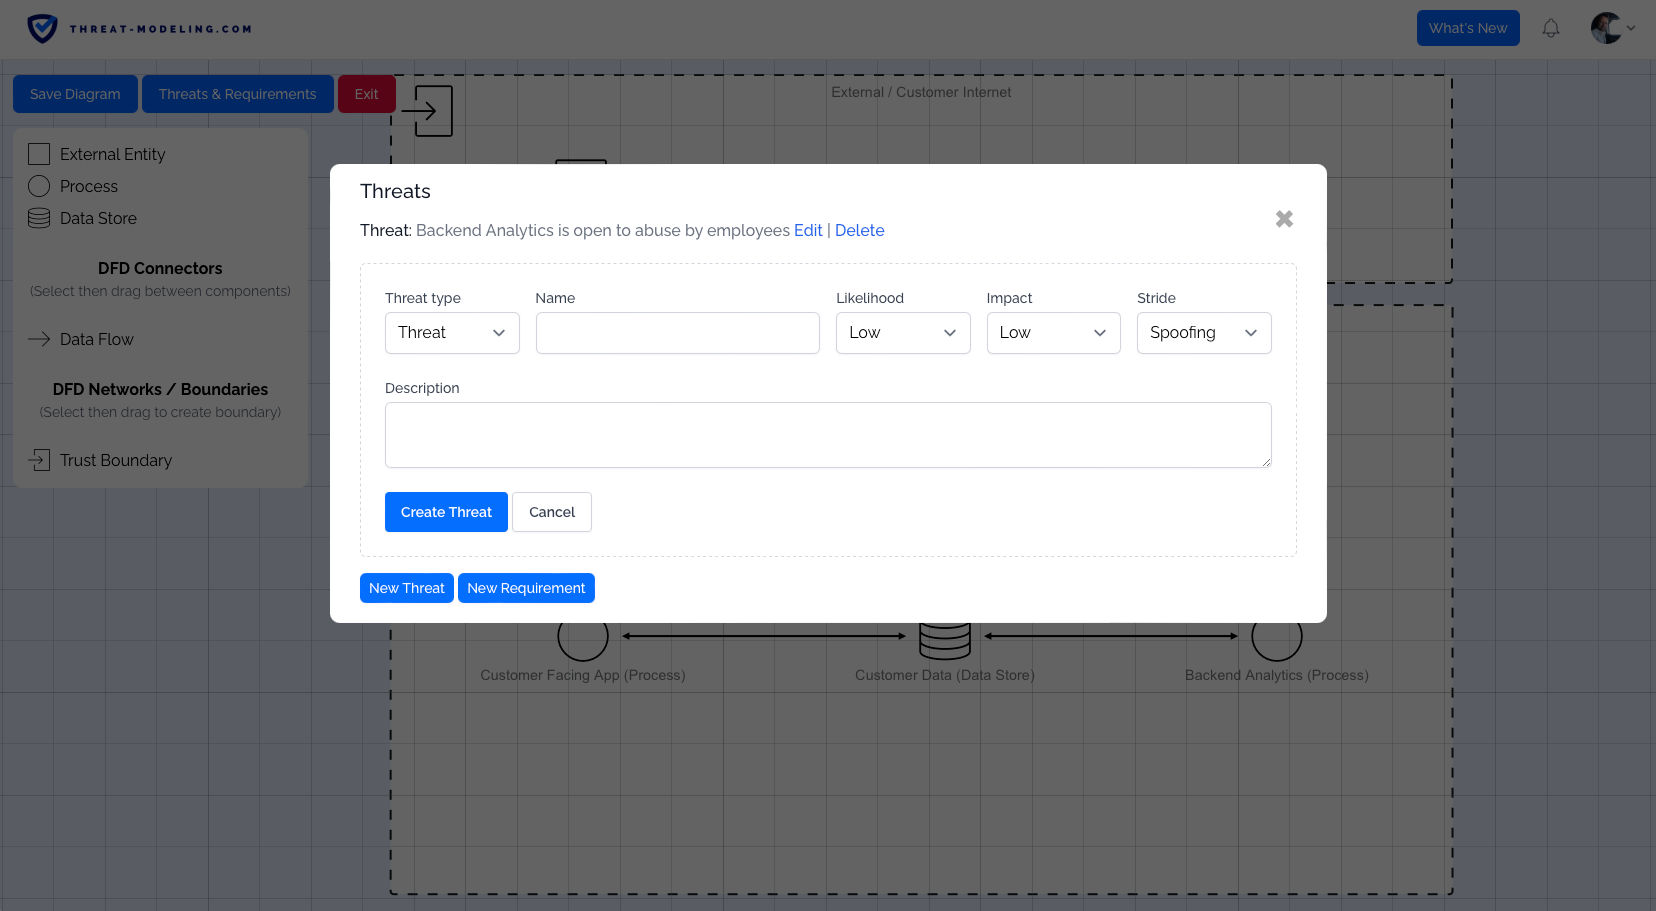
- Threats: Based on the knowledge and insight gained from the Data Flow Diagram, we can add threats.
- Security Requirements: Based on the knowledge and insight gained from the Data Flow diagram, we can add security requirements.
